Showing posts with label Letter Love 201. Show all posts

Saturday, March 9, 2013

Playing with Texture in Lettering...

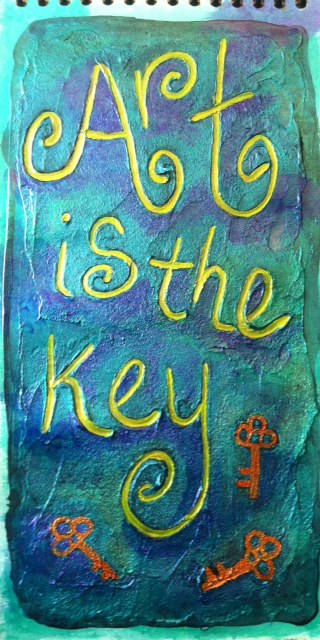
Sparked by another couple of lessons in Letter Love 201, I've been playing with texture in lettering.  Joanne had suggested an idea using heavy body paint, but instead mixed some black gesso with Golden Fiber Paste and wrote in it while it was still wet.  When it dried, I painted it using Silks Glazes.  I love the way the Silks work on black!   The close up gives a better view of the texture and depth of the lettering.  I used a rubber stamp of a key to stamp into the wet paste and gesso, but it isn't as deep as the lettering.


This piece is the favourite of a number of pieces I created using matte medium and Dylusions spray inks.  I'll end up using them as embellishments on journal pages at some point.

Monday, March 4, 2013

Writing With Ink


This was a fun page.  I started by playing around with inks, as per Joanne's lesson 21, and one thing led to another. I had these 'Posh Rainbow Inks' by Ranger in my stash and they've got a very fine tip so you can write with them by just very gently squeezing the bottle as you go.


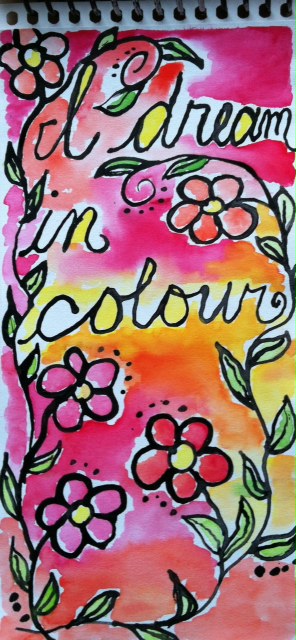
After using the butterscotch to write the words, I echoed them using cranberry.  I drew the flowers in the same way.  I ended up cutting them out because they just needed an interesting layered background to allow them to pop.

I started by using a lace doily and spraying with green Dylusions ink. I then layered on some blue and purple acrylic paint, using an old gift card and my fingers.  I stamped over that layer with Traci Bautista's 'creativity flows' grafitti stamp.  It was a fabulous surprise to see that some of the green Dylusions spray somehow bled through so that the stamped letters had a green caste in some places.  That's one of my favourite things about those sprays...you never know what added bonus you'll get that you could never hope to achieve on purpose!

I followed that stamping with some found object stamping to create some circles here and there and then I glued the original words and flowers I had made in place.  The final step was to do a bit of journalling and doodling using my white Signo.

Friday, March 1, 2013

Finger Painting and Some Inky Text


When I was first watching Joanne's lesson 18 video, I was laughing...yup Joanne, I was one of the ones you were threatening to send to the principal's office. LOL However, seeing as I seldom keep my fingers out of the paint when I do play with acrylics, I thought why not do lettering with my fingers.  And it was fun.  I like the thick rich texture I could achieve.

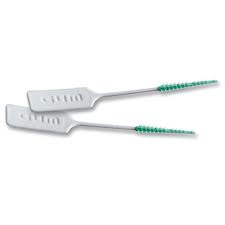
In another couple of lessons, we were exploring different mark making tools.  I used the little Gum dental soft picks as my 'pen' for the page on the left.  I just dipped it into the India ink as needed while I wrote.  It like the control I had with it so that I could write fairly easily while still getting a looser looking text that with a regular pen.

The page on the right was done using the dropper in the India ink bottle.  That was a bit harder to write with, but again it gives an interesting, loose text.

Judging by the watercolour background of the second page, I think I'm finally beginning to get a better feel for leaving some white space as I paint.  I'll need to keep working on that...

Saturday, February 16, 2013

Playing with Words

On Valentine's Day, our Letter Love 201 exercise was to write the words, "Love, love, love. Do what you love" (I can hear you from here Leah! LOL). So I played with different letter styles and had some fun.  I especially like what I came up with for the last word at the bottom. 

 I really liked how using the word to create the word worked for me, and I thought my clever (if I do say so myself) little hearts wrapped around the bottom border where fun. I also really liked the black and white, so I left it there...

Then, this morning I decided to play some more with this technique.  I wrote the words "Play with your words", again using words to create the letters.  I also hid a subliminal message in the page...

I like the ribbon effect that I'm achieving, and I had fun again wrapping it around the border.

This page didn't pop, probably because everything is the same weight and there's really not focal point, so I got the Tombow's out and created a shadow effect with this pretty aqua colour.  This close up shows the effect of the Tombow before the ink was activated with water, creating the sharper shadows (right and bottom) and the softer watercolour effect achieved by activating the ink with a water brush (left and top).


And here's what the whole page looks like: 


The hidden message...the large words obviously say "Play with your words".  The word play was made by repeatedly writing play as you can see in the close up above.  However, with is made up of the words 'but' (the w and i) and 'not' (t and h) and the word 'your' is made of 'with' (y and o) and your (u and r) and then 'words' is made by repeatedly writing 'food'.  My mother's in my head today. :o)

Now, you've all heard the expression "Leave well enough along."  I wish I had...

Perhaps if I go back and do some more, stronger watercolour in the negative space I can salvage it...or maybe I just put down the brush and walk away...


Sunday, February 10, 2013

I Really Need Some Discipline...


My plan for yesterday was to do some sewing.  I've got several art quilts in process that I really want to finish (honest!).

Enter Joanne Sharpe and her Letter Love 201 online class...  I know I can do these 'lessons' whenever I want.  I don't have to keep at them because as Joanne always reminds us, "You bought the book! You have these lessons forever!" But they're just so much fun.  I can just sit at my desk with my pens and watercolours and play all day.

After dinner I finally 'forced' myself to spend an hour sewing... and then you won't believe what happened... Yup, I was back at that damned desk with a pen in my hand...

Anyway, here are a couple of pages I did.  I love both of these quotes. In fact, if you look closely at the page with the white writing you'll see that I used these same quotes under the large focal word on the respective pieces.


Can you tell that Valentine's Day is coming soon?


Friday, February 8, 2013

Polka Dot Letters and Words...

Here are a few of the fun pages I've been doing while taking Joanne Sharpe's latest online class, Letter Love 201.  It's a great way to get into an art trance and just doodle!

The word collage was done on an old dictionary page.  The coloured border/background is done with pan pastels.

The lettered page below, on the left, was just not popping for me, so I added some polka dots to all of the letters in my first and last name (I had to add an extra 't' because initially there was only one) and then I gave it a bit more of a colour pop too.

If you need something to pass the time, figure out where the extra letter was squeezed in on the second image.  It shouldn't be too hard since you already know it's a polka dotted 't'.


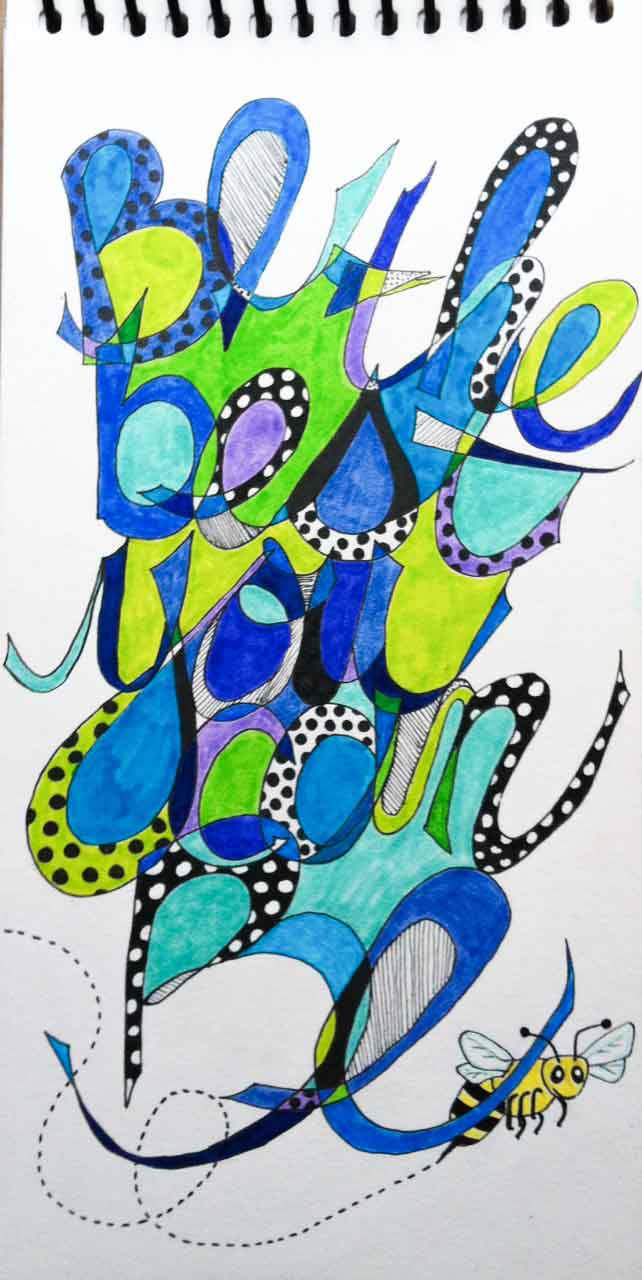
And finally this last piece for today...I think I'm getting a bit carried away with all the polka dots and the 'bee' is just way to cutesy for my usual style, but oh well...

As I look at the bee here, I don't think those little wings are going to support a bee that size. :o)

The jumbled letter piece was definitely my favourite of these three activities.  I can see some potential for variations on that idea.  I love the dimensionality of the layers of letters.