

Showing posts with label ATC. Show all posts
Showing posts with label ATC. Show all posts
Wednesday, September 18, 2013
When I Need An Art Fix...
ATCs are perfect for that quick art fix when you need to get into something but you don't want to spend too much time in the studio or you just don't have your head around how you want to start the next big art piece. I've been really enjoying using collage and paint in my ATCs lately. This one is for a swap I'm participating in.


Sunday, August 4, 2013
An ATC Develops...
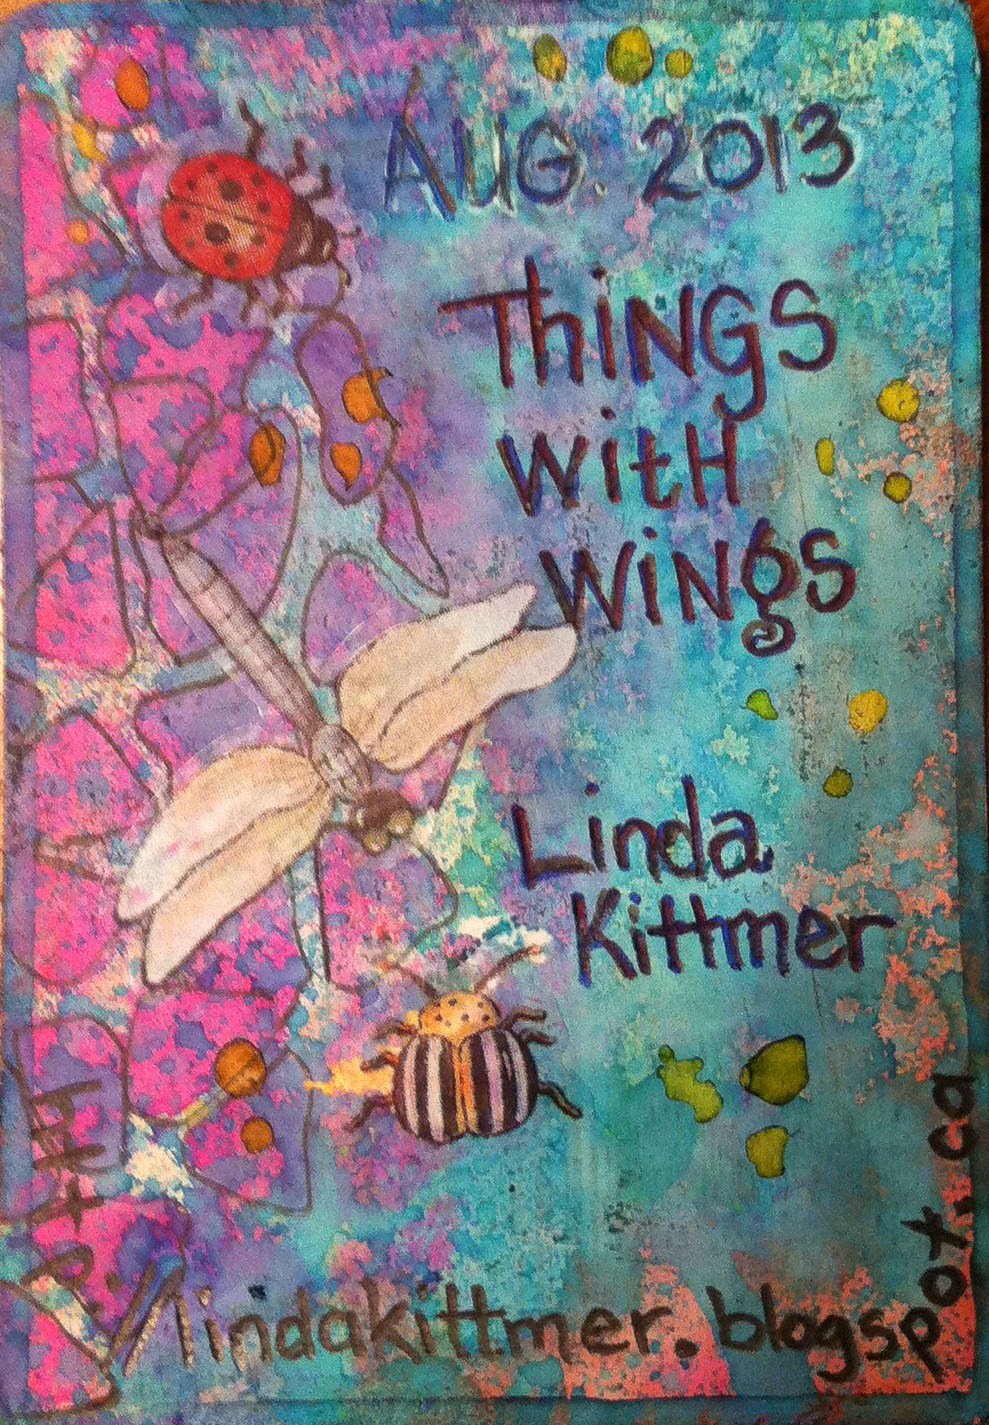
I'm participating in an ATC swap via Facebook, and yesterday I got the art supplies out for a bit of play time. The August theme is 'Things With Wings".
 I started with a scrap bit of cardboard which I roughed up a bit with sandpaper and then applied a thin coat of gesso to both sides. The text that shows through just gives a bit of extra texture.
 Next I used spray inks and distress stain to add colour. I used a couple of my StencilGirl stencils too.

 This is Terri Stegmiller's 'Blades' stencil. I flip the stencil over onto a page of text to use up the excess ink.

 I also used Jane LeFazio's 'Eucalyptus'.
 I added various elements by tearing pieces of previously embellished papers I had lying around. I tore a branch from the text page used to 'clean' my stencils and then I cut out and coloured a bird that was lightly stamped on scrap paper one da when I was cleaning that stamp. I spritzed it with the blue spray ink, but if you srr it in person, you can see the black ink from the original ink show through.

 Using the tube in the spray ink bottle, I 'draw' a thin border around the edge on both front and back.
I then added some finishing touches with black and white pens, some letters cut out of the newspaper, and a few stickers and it was done.


 This is Terri Stegmiller's 'Blades' stencil. I flip the stencil over onto a page of text to use up the excess ink.
 I also used Jane LeFazio's 'Eucalyptus'.
  I added various elements by tearing pieces of previously embellished papers I had lying around. I tore a branch from the text page used to 'clean' my stencils and then I cut out and coloured a bird that was lightly stamped on scrap paper one da when I was cleaning that stamp. I spritzed it with the blue spray ink, but if you srr it in person, you can see the black ink from the original ink show through.
 Using the tube in the spray ink bottle, I 'draw' a thin border around the edge on both front and back.
I then added some finishing touches with black and white pens, some letters cut out of the newspaper, and a few stickers and it was done.
And here's the finished ATC...
 |
| front |
 |
| back |
Saturday, July 27, 2013
The Snail Came Through!
 Dee and I were starting to worry because her June ATC from our Joanne Sharpe Facebook alumni swap group, The Queen's Sharpies, had not arrived (via snail mail) and it was nearing the end of July. Well, I was thrilled when I found this treasure in my mailbox yesterday!
I guess that poor little snail was struggling under the added weight of that wonderful crown charm. I so glad the little guy persevered! The photo just doesn't do it justice...the wonderful texture and all of the meaningful layers. Awesome job Dee!

Thursday, July 25, 2013
July ATC Swap

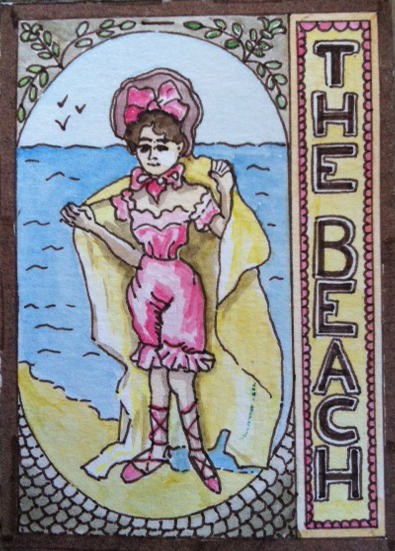
I've been going through a couple of really rough, stressful weeks, and Heidi's timing, stunning art and fabulous message couldn't have been timed better! Thank you Heidi, I love them all.
If you look closely, even the address label matches the wonderful ATCs!


 |
| This is the back of all of the ATCs...a work of art in itself! |
Saturday, December 8, 2012
Dream Cat

Thursday, December 6, 2012
Marbled ATCs
I've been cutting some of the new marbled fabric for a piece I've been working on, and I decided to use a few of the cut offs to make a couple of ATCs. One was swapped at our GOE meeting last night and I'll keep one for myself.


Tuesday, October 16, 2012
Pink Passion...

 This beautiful ATC, called "Pink Passion", arrived in my mailbox today. It was made by Robbin Neff. If you want to see more of her ATCs, click on her name to see her blog. I've actually linked to the post about this particular ATC, but you'll be able to explore further from there.
Robbin and I participated in an ATC swap organized by Lisa Fulmer, but sadly Lisa has decided that she's got too many other things going on so she won't be doing any more of these swaps. Thanks for doing it while you could Lisa. It was fun and I appreciate all of your time and organization.
Maybe I'll have to think about picking up the ball...???
Thursday, May 24, 2012
ATCs From Trimmings
 I working on a piece of mixed media art right now (almost done) that involves paint, fibre and paper collage and a lot of stitching. Yesterday I was trimming it up and I just couldn't bring myself to throw away some of the more interesting bits that were left over. Instead, I pieced them together and made a couple of ATCs. Waste not, want not!
Friday, April 13, 2012
GOEs Recent Activities
Friday, April 6, 2012
Faux Encaustic Looking ATC and Give-away
Sadly some sort of a computer glitch has caused all of the images in this post to disappear, and I am unable to correct the problem. Sorry!

I'm participating in an Easter Blog Hop so I thought I'd do a little tutorial on creating an ATC that has sort of a faux encaustic look. This began as an experiment, but I'm please with the results.
 I started with the image of the angel and egg on the sheet music. I found this lovely image on Pamela's wonderful Vintage Digi-stamp blog. I opened it up in Photoshop Elements and selected and used some of the colours to create a second coordinating image by using a photo of a collection of gears, over which I put a texture layer at a light opacity to get that coordinating aqua colour while still letting the gears subtly show through. Wait, don't panic! If you aren't comfortable using Photoshop or other photo editing software you can easily make an ATC like this with any scrapbooking paper or printed image you may wish to use. The background piece needs to be 2 1/2" X 3 1/2" (standard ATC dimensions) and the accent piece is a little smaller to allow some of the background to 'frame' it.
 The next step is to melt some wax (I used soy wax because I had it) in an old electric skillet. I found this little electric skillet at a thrift store for $3.50. Once the wax was melted (I set the skillet at 300 degrees F) dip the paper in the wax just to wet it. I then just held it up to let the excess wax drip off and let the wax dry for a about a minute before I set it down on a piece of parchment paper. I'd like to try using bees wax next time because I suspect it may give a nicer, warmer look because of the subtle colour of the wax.

 My next step was to use some distress ink to knock back the starkness of the page. In hind site, this step would probably be better done before waxing the paper so that the ink is sealing under the wax. Because the ink wiped readily from the wax, I used a bit of quilt batting to blot the ink to create a bit of texture and then to keep it from rubbing off later I sprayed on a layer of SpectraFix. This product is sold as as a fixative for pastel, charcoal, pencil, and mixed media. After a bit of drying time the distress ink was 'fixed' on the surface and no longer rubbed off.
 Fortunately this fixative is all natural and oder free so you can safely use it indoors.
 Once the fixative was dry I cut the pieces out and then it was on to the sewing machine. If you prefer, you could use glue at this stage, but I like adding a bit of stitch. I used a zig-zag stitch to secure the background to a 2 1/2" X 3 1/2" piece of Fast2Fuse. I like the structure that it gives the finished ATC while still having some flexibility. I also add a piece of printed card-stock that has my name, etc. on the back of the ATC.
 I then used a straight stitch to layer the angel piece over top of the background.
 Here you can see what the ATCs look like once the sewing is finished.

The final step was to use some copper coloured acrylic paint to 'guild' the edges.

I always make a small series of ATCs. In this case, one is for a swap with my GOE fibre arts friends, I always keep one for myself, and this time round, one is for YOU! That's right, one will be part of the give-away for the blog hop (more about that in a moment).

And here's a closer image of one of the ATCs.
And now for the details of the giveaway...
 One lucky reader will win one of these ATCs plus the other bits of 'blog hop candy' as pictured (Cloth, Paper, Scissors DVD which includes all 6 back issues of the magazine from 2008-great for ideas and inspiration; soy wax-so you can try this tutorial; various papers including some wonderful old dictionary pages-again so that you can try this tutorial). For a chance to win, please leave me a comment telling me what you like to do to express your creative/artistic side. I will be randomly drawing a winner on Monday, April 9th. Please be sure I have a way of contacting you if you win. Good luck!
Don't forget to check out the other blogs on the blog hop.
Happy Easter ~ Happy Spring!

I'm participating in an Easter Blog Hop so I thought I'd do a little tutorial on creating an ATC that has sort of a faux encaustic look. This began as an experiment, but I'm please with the results.
 I started with the image of the angel and egg on the sheet music. I found this lovely image on Pamela's wonderful Vintage Digi-stamp blog. I opened it up in Photoshop Elements and selected and used some of the colours to create a second coordinating image by using a photo of a collection of gears, over which I put a texture layer at a light opacity to get that coordinating aqua colour while still letting the gears subtly show through. Wait, don't panic! If you aren't comfortable using Photoshop or other photo editing software you can easily make an ATC like this with any scrapbooking paper or printed image you may wish to use. The background piece needs to be 2 1/2" X 3 1/2" (standard ATC dimensions) and the accent piece is a little smaller to allow some of the background to 'frame' it.
 The next step is to melt some wax (I used soy wax because I had it) in an old electric skillet. I found this little electric skillet at a thrift store for $3.50. Once the wax was melted (I set the skillet at 300 degrees F) dip the paper in the wax just to wet it. I then just held it up to let the excess wax drip off and let the wax dry for a about a minute before I set it down on a piece of parchment paper. I'd like to try using bees wax next time because I suspect it may give a nicer, warmer look because of the subtle colour of the wax.
At this stage I decided to use an old credit card to scrap off some of the wax (front and back) because I wasn't happy with how thick and uneven the wax surface was. I kept the scrapings to reuse them for another time.


 Once the fixative was dry I cut the pieces out and then it was on to the sewing machine. If you prefer, you could use glue at this stage, but I like adding a bit of stitch. I used a zig-zag stitch to secure the background to a 2 1/2" X 3 1/2" piece of Fast2Fuse. I like the structure that it gives the finished ATC while still having some flexibility. I also add a piece of printed card-stock that has my name, etc. on the back of the ATC.
 I then used a straight stitch to layer the angel piece over top of the background.

The final step was to use some copper coloured acrylic paint to 'guild' the edges.

I always make a small series of ATCs. In this case, one is for a swap with my GOE fibre arts friends, I always keep one for myself, and this time round, one is for YOU! That's right, one will be part of the give-away for the blog hop (more about that in a moment).

And here's a closer image of one of the ATCs.
And now for the details of the giveaway...

Don't forget to check out the other blogs on the blog hop.
Happy Easter ~ Happy Spring!
Saturday, February 25, 2012
Free Vintage Digital Stamps
 I've found a great blog that offers free vintage digital stamps and digi-scrapbook papers. They'll be great for using in the making of ATCs, journalling projects, and more. Here are a couple of examples of things I've found on Pamela's site. Look for the link in my sidebar to the right and have fun!
I'd love to hear how you plan to use these great FREE images.
Thanks Pamela for sharing!!!

Monday, February 6, 2012
From Thoughts and Words to a Journal Page (and a beautiful pantry!)


The rest of the pictures show the transformation from black and white lettering to the colourful finished page. I used Pitt pens and Microns to do my lettering.

Then I used my Copic markers to colour in the flowers...

...and some of the features in the grid lines.

Still using the Copics, I coloured in some of the shapes created by the letters. Here's what the page looks like with all of the marker work done. Now, on to the background.

I used my Inktense watercolour pencils. I love these pencils! You use them just like a pencil crayon, pressing as hard or as soft as you like and blending and shading as you do with regular pencil crayons. I wanted a soft background to contrast the bright pop of colour that the Copic markers provide, so I was shading lightly with the pencils.

Here's where the magic comes in. Using one of these wonderful watercolour brushes, you just paint over the areas you coloured in with the Intense pencils to release the watercolour pigment! I just keep a paper towel beside me as I work so I can switch from one colour to the next without muddying up my paint. It really only takes a little dab on the paper towel and you're ready to go. This makes the Inktense pencils perfect for travelling since you don't need a water jar for cleaning your brush!

I just love how the colour pops as you brush over it with the aqua brush! By the way, Inktense comes in various sets (in wonderful tins) but they also sell individually. That means that when you eventually use up a favourite colour pencil (they last a long time) you can replace just that one colour that you need.

Okay, so here's the crazy thing...the other day we went to the Bulk Barn and stocked up on all the various flours and other 'stuff' required for gluten free bread baking (that's a whole other story which I won't get in to here). Gone are the days when I could just have a bag of "all purpose" flour in the pantry. Well, as you can see from the photos below, everything kind of looks alike so I organized them into mason jars and labelled them. Well, thanks to Joanne's influence I couldn't just write plain boring labels could I??? LOL Thanks Joanne, my pantry looks "Letter Love"ly!


Subscribe to:
Posts (Atom)