It's been a few days since I've posted so I thought I'd give you a peek at a tiny part of a piece that's a WIP. It's a piece that I'm planning to enter into a juried show in April, so I'll hold off showing you the entire piece (once I finally finish it) until after I find out whether or not it's accepted.
I started by machine needle felting hand dyed scraps of batting with various layers of rovings, hand dyed cheese cloth, yarns and other bits and pieces of fibres. I've added a lot of hand stitching as well as free motion machine work on top. I'm now adding some beading and a whimsical little surprise embellishment. I've been working on this piece, off and on, for two and a half years. I've never considered it a UFO though. It's always been on my mind and sometimes just had to rest for a while as I considered possible next steps.
Showing posts with label embellishment. Show all posts
Saturday, January 19, 2013
Wednesday, December 26, 2012
Planets Triptych
This week, I've been finishing another UFO. It's a piece that I started in the summer. I started working on it after seeing a piece that my friend Diana did based on Carol Ann Waugh's Stupendous Stitching. Later, after signing up for Carol's online class, I had set this aside and I did the large colourful piece called Spirals, Lines & Serendipity.In an attempt to finish up yet another of the unfinished pieces that I have lying around (thanks Tracey for your challenge!), I pulled this out and got back to it.
Each of the individual panels are mounted on 8" X 8" canvas squares, and the intension is to hang them vertically as shown here.
I've called it Planets because of the various spheres and the batik patterns on them.
Saturday, December 8, 2012
Dream Cat
Today I was working with some more of my newly marbled fabric and I got side tracked making a couple of ATCs. I thread sketched the cats and then stitched on the little 'dream' charm so it would hang from the end of the tail. I also used some TAP (Transfer Artist Paper) to add the words 'enjoy the journey'. Considering that I was finishing the one for this months swap as my friends were coming up the driveway, I'm please to say I'm ahead of the game for the January swap! As usual, I've made two so that I can keep one. I like doing this because I can look through my collection to see all of the ones I have given as well as those I have received.
Thursday, May 3, 2012
Pathways
This was such a fun piece to work on. It started with an interesting piece of handmade paper that was created by wrapping some variagated fuzzy yarn around a frame. The resulting piece of paper was dimensional and had an intriguing lacy texture.
From there I created some beaded lines that I had going in and out of the various holes in the paper. Some additional lines of fabric were included and some accent buttons were added to them.
I wanted an asymmetrical piece, so I added a few more pieces of the hand dyed fabric to create the piece that hangs down from the right side of the finished piece. They were embellished with some accent buttons, coordinating threads and beads. Finally, I added some hand stitching, using hand dyed variegated threads, to create some more pathways as well as added texture using the seed stitch and a few cross stitches on the smaller squares and rectangles.Saturday, March 31, 2012
If I Were Half My Age...
Wouldn't it be fun to design and wear a wonderful steampunk creation?The current challenge for my fibre art group, GOE, is 'steampunk'. I don't often pull out my sketchpad to design my fibre art pieces (I tend to work more intuitively and let the pieces lead me where they may), but for this piece I started by designing the steampunk dress on paper. Once I had the drawing of the dress I started gathering my materials and the real fun began.
Thanks to my husband's generosity, I was able to cut into a really old leather jacket that he had finally stopped wearing because of all of the holes he'd worn into it. Although I was reluctant to cut into it (I loved the old worn look of it) I did realize that he was starting to look like a street person when he wore it. LOL The brown bodice of the dress as well as the black band across the background both came from that wonderful jacket. The black part is the cuff, complete with the snap closure. The zipper that finishes the upper edges was also from that jacket. I used little scrapbooking eyelets to be able to lace the bodice of the dress.
Because of the weight of all of the leather, gears and other materials, I actually had to reinforce the back of this piece with a 1"x 2" piece of wood across the width so that it would hang without drooping into itself.
Labels:
chain,
embellishment,
fibre art,
foil,
fringe,
gears,
lace,
leather,
organza,
Steampunk,
surface design,
TAP,
tin foil,
tissue paper
Monday, March 26, 2012
Shadow Play and Beads
Back in the first week of March I showed you the beginnings of this art quilt, before I started the quilting. The next step was to do the free motion machine quilting. There is something very 'zen' about doodling with a sewing machine! In this case, I let the batik drive my stitching design by loosely following the pattern in the batik.
Once I finished the quilting this piece moved from my studio to the family room where I did the beading while 'listening to' TV. I also added a little hand stitch with pearl cotton to give the smaller squares a bit more texture and interest. Again, I used the design in the fabric (that I had fussy cut in the original piecing and fusing stage).
Saturday, October 29, 2011
No More Excuses!
People are often saying, "I'll do it when I get a round tuit." Well, I've got just the thing!
I've been playing with my embellisher again lately. I used various colours of felt, wool rovings, hand-dyed cheesecloth, yarns, etc. and I've been making round TUITs. I've further embellished them with hand embroidery and beading to give them a bit more interest.
Here are the one's I've just finished:


I've been playing with my embellisher again lately. I used various colours of felt, wool rovings, hand-dyed cheesecloth, yarns, etc. and I've been making round TUITs. I've further embellished them with hand embroidery and beading to give them a bit more interest.
Here are the one's I've just finished:
| close-up of some of the details |
| This is the message on the back. |
Friday, August 12, 2011
Rock, Paper, Scissors
My fibre arts group's latest challenge was to incorporate some small rock pieces that Ann brought back with her from Arizona. In addition to using the rocks in the piece, we had to include the word 'rock' in the title. What immediately came to mind for me was the old game of Rock, Paper, Scissors. Here's the resulting piece.
I first created the background by using my embellisher and adding various scraps of rovings, hand dyed cheese cloth, organza, silk scarves, etc. to a piece of felt. I then wrapped the rocks with copper wire embellished with beads. The large beads are made of various decorative papers and strips of newspaper and some were also wrapped with copper wire. The scissors are were thread sketched onto the background. The piece was finished off with hand wrapped cords, hand embroidery and beading. The final touch was to get out in my kayak and find a piece of driftwood to attach for hanging. I had a lot of fun creating this piece!
Monday, May 16, 2011
Trinket Box
I've been using some of the tin foil embellished fabric I've been experimenting with to make this box. There are multiple layers of paint, perfect pearls, copper foiling and organza. The 'feet' are wooden semi spheres that I painted to match. The nob on top is a wooden 'bead' that I painted and then I stacked some beads on top to add interest. I embellished it with the copper eyelash yarn, but I'm not sure I like the curved application. Maybe next time I'll try putting it on straight or leaving it off all together.Monday, May 9, 2011
ATCs for this months swaps...
I decided to use some of the ideas from a recycling workshop I attended Saturday for my ATCs this month. The background is shredded paper with organza layered over it and then stitched. The centre of the flowers are mylar yogurt cup lids, cut into little circles.
Saturday, April 16, 2011
Wet Felt Study 3
This piece began as another piece of wet felt. I used my embellisher to add a small piece of hand knitting and some swirls of additional wool rovings. Finally, I added the hand embroidery and beading. The ‘binding‘ was created by folding the edges and securing them with the embellisher before adding the stitching. I especially like the way the colours came together in this piece. I don't usually work with pink, but I really like how it worked with the green and blues in this piece.
Sunday, April 10, 2011
Another Felt Piece
I've been playing around with another piece of a wet felted background. I decided to make it a bit more sculptural and then I added a lot of hand embroidery and beading to it. I think it's done for now....
Tuesday, April 5, 2011
Wet Felting Piece is Finished.
Several years ago I was beach combing on the beach at Goderich with my friend Heather. I picked up this wonderful little piece of wood that day and I've had it in a bin in my studio since. Well, it has finally found a new use. I love the way the green felt supports and frames the blue embroidered piece and I think the piece of wood, with it's wonderful, aged grey colour and interesting twist and turns contrasts nicely with the delicate embroidery and beading.
Friday, April 1, 2011
Wet Felting
A couple of friends and I are planning to play around with wet felting, so I decided to give it a try. Here's my first piece. The green circles worked out quite well, but some of the white balls didn't adhere so I used my embellisher to integrate them into the blue. I then folded it into itself and added some embroidery and beading.
Saturday, March 26, 2011
Name Tag Bag
As a member of the Oakville Stitchery Guild, we were asked to make a name tag bag. The guild is a member of ONN (Ontario Needleworkers Network) and the ONN Theme for this year is "Gathering Threads". As part of the theme, members are asked to create a small bag, no larger than 8"X10". This is the little bag I created. It's a lined bag with double quilted lines, hand embroidery and beaded embellishments.
Friday, March 25, 2011
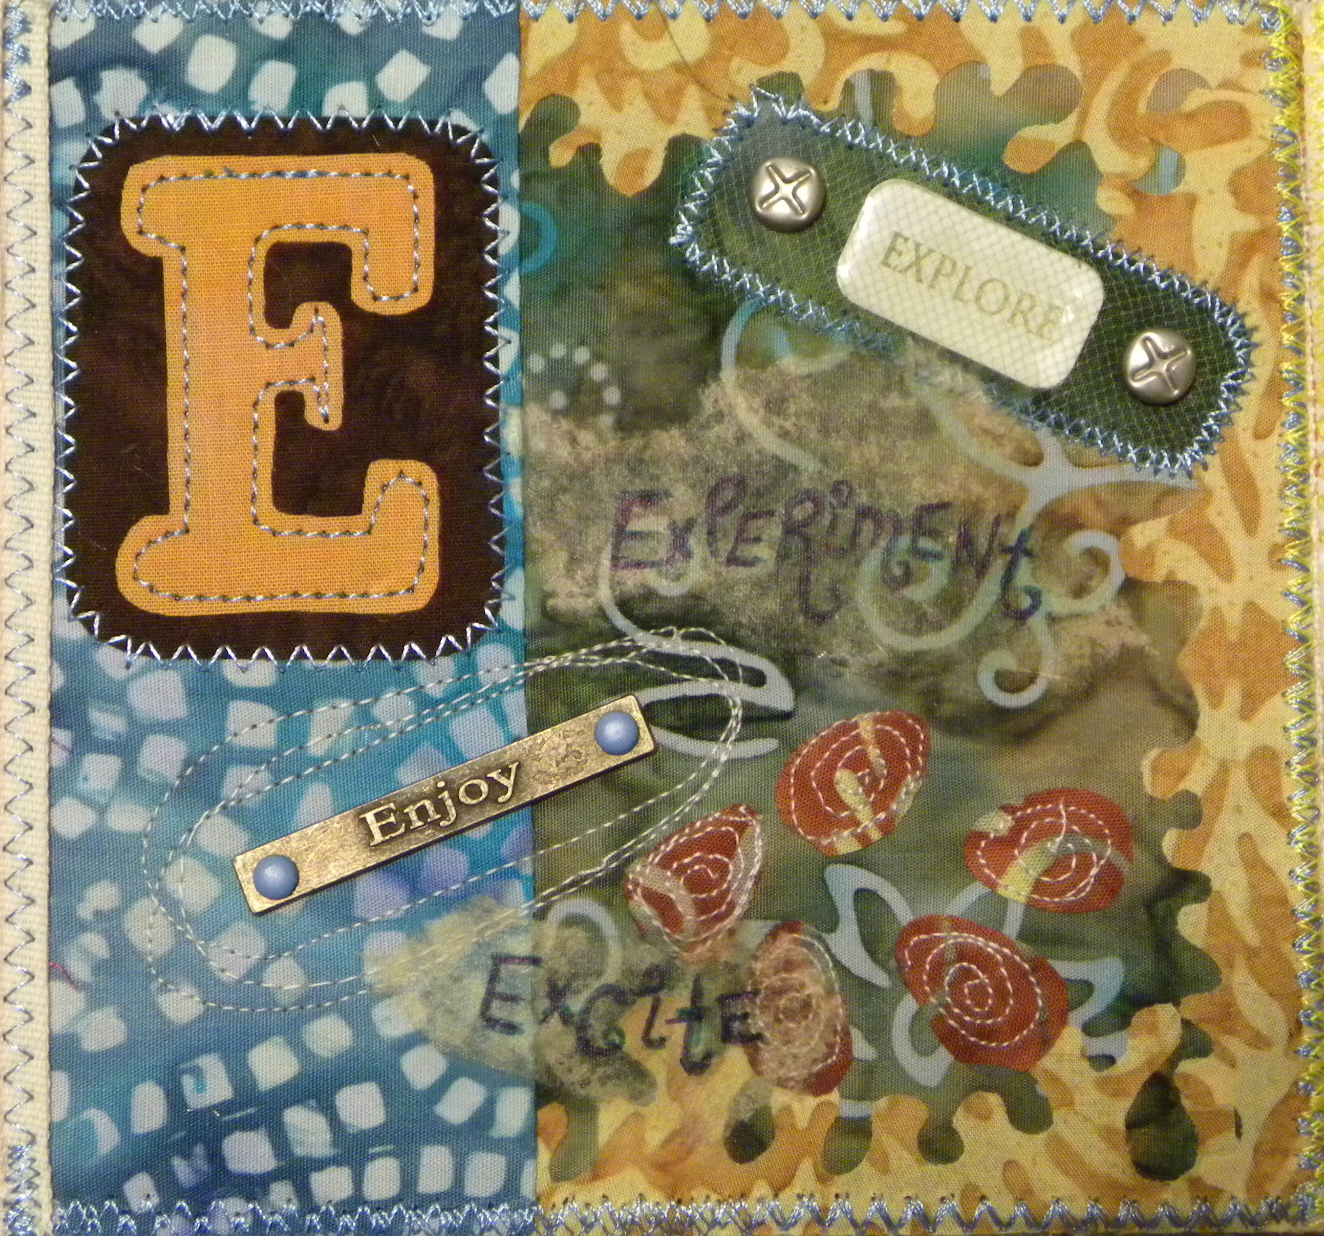
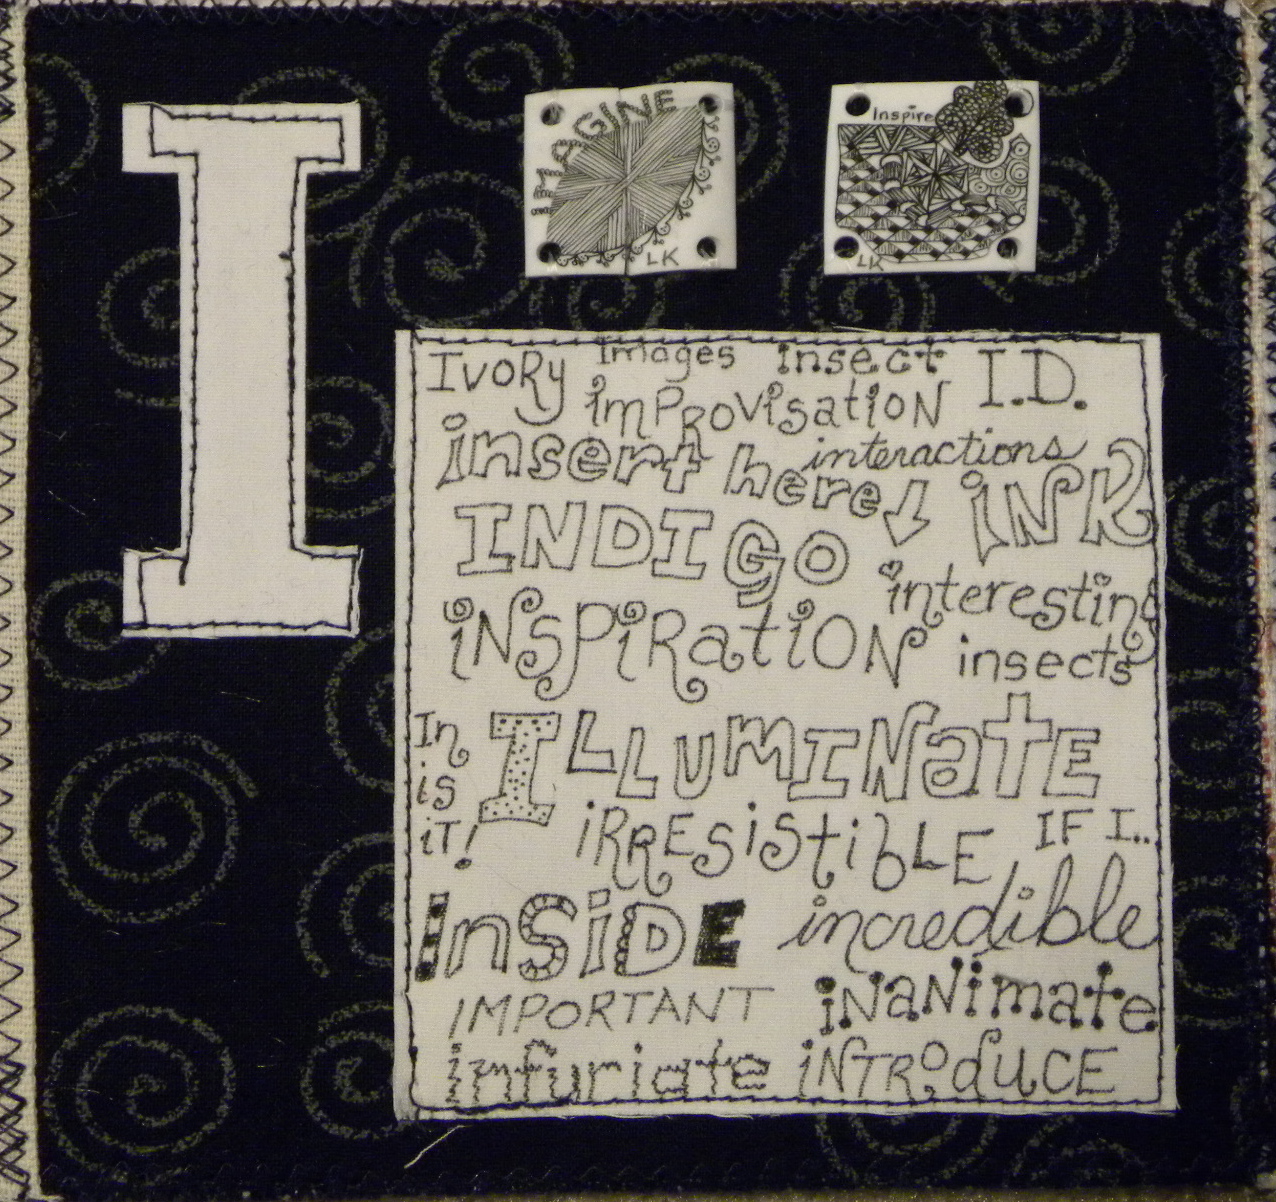
An Alphabet Journal
I got a copy of the book Alphabetica by Lynne Perrella as a Christmas gift, and I was inspired to create my own version of a fibre alphabet book.
Subscribe to:
Posts (Atom)