Showing posts with label needle felting. Show all posts

Friday, December 6, 2013

Plans Are Moving Ahead...

About two months ago I shared a post in which I talked about reworking a felted, stitched and beaded piece I had done years ago.  I keep looking at it, and I've finally come up with a plan...

I'm going to stitch it to a piece of charcoal coloured wool felt, add some hand dyed cheese cloth around it, and then do some hand stitch in the border area.

Right now the felt is cut into a large square, but I will likely trim it down to a rectangle.  The photo shows some of the cheesecloth I'm auditioning...I'll use my felting/embellishing machine, and probably use a combination of those pieces of cheesecloth in the border area.

Friday, October 4, 2013

Time For Some Reworking...

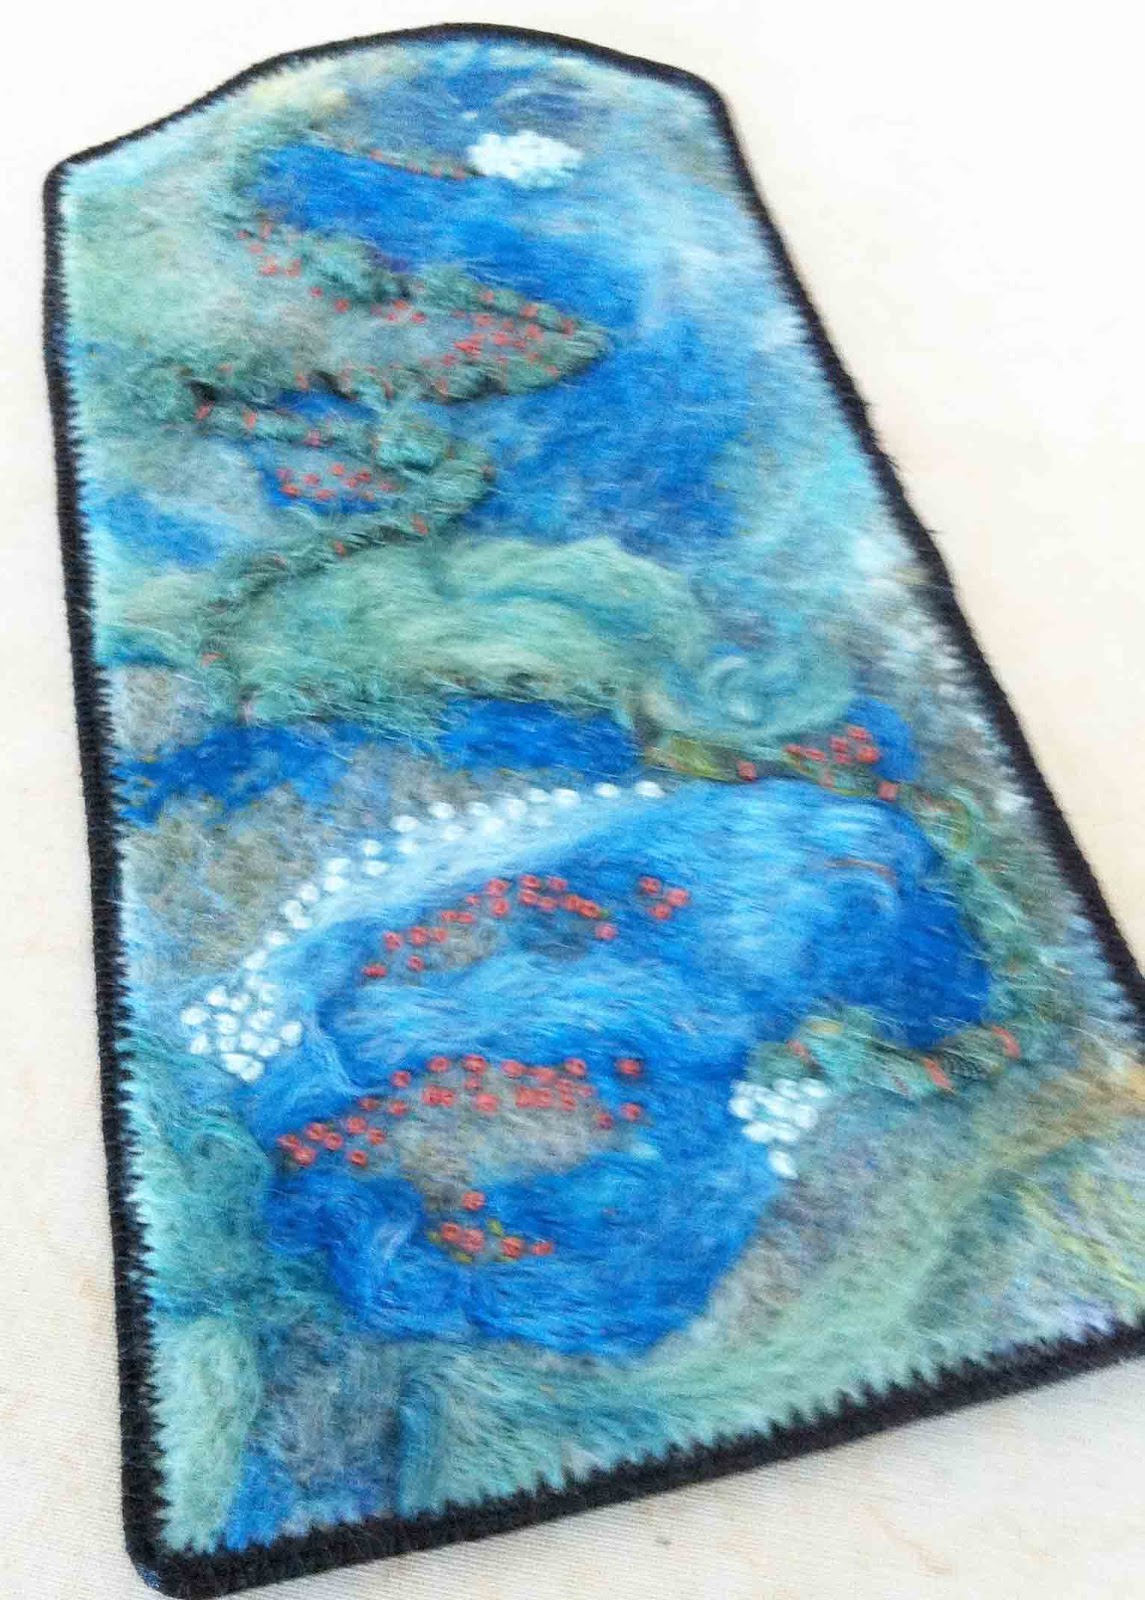
I did this piece several years ago, and just didn't know where to go with it from this.  I've never been very happy with it, and the other day I was looking at it and decided it was time to rework it somehow and make something of it.  I don't know what that is yet, but the first step is recognizing that it needs "something"!

Tuesday, May 7, 2013

Henry's Haircut


I had an opportunity last Spring to see some alpaca's being shorn and was given some of the alpaca hair to experiment with in my fibre art.  Using my embellisher, I needle felted the fibre's to create a base using the darker grey hair.  I then incorporated some of my hand dyed cheesecloth over top of the alpaca felt.  I added some circles in a lighter colour of alpaca hair, and intentionally left some of the long dark strands hanging so that I could later add beads to them.

I did a lot of machine stitch/thread sketching over the cheesecloth to bring out more of the copper and turquoise colour before moving to the hand beading.  As for the title Henry's Haircut...you guessed it, the dark gray alpaca's name is Henry.

Friday, April 12, 2013

Threadworks Fibre Art Show: April 20 - June 4

I'm thrilled to announce that my piece, "Ode to Dr. Seuss" has been accepted into Threadworks, a juried fibre art show.


This piece was made with machine felting, hand embroidery and beading, free motion quilting, three dimensional fish and a nod and a wink to Dr. Seuss.  You see, there are two fish, each about 4 inches long and heavily beaded.  One fish is red, the other blue.


Threadworks is a juried exhibition of needle arts, and the theme of this year's show is "Water".

The show runs from April 20 to June 9 at the Wellington County Museum and Archives in Fergus, ON and then will spend the next three years traveling to museums and galleries across Ontario.

Threadworks is a special project of Ontario Network of Needleworkers' in association with Wellington County Museum and Archives.


Saturday, January 19, 2013

Work in Progress

It's been a few days since I've posted so I thought I'd give you a peek at a tiny part of a piece that's a WIP.  It's a piece that I'm planning to enter into a juried show in April, so I'll hold off showing you the entire piece (once I finally finish it) until after I find out whether or not it's accepted.

I started by machine needle felting hand dyed scraps of batting with various layers of rovings, hand dyed cheese cloth, yarns and other bits and pieces of fibres.  I've added a lot of hand stitching as well as free motion machine work on top.  I'm now adding some beading and a whimsical little surprise embellishment.  I've been working on this piece, off and on, for two and a half years.  I've never considered it a UFO though.  It's always been on my mind and sometimes just had to rest for a while as I considered possible next steps.

Saturday, November 24, 2012

Life is Pretty Amazing...

This small needled felted piece was started a couple of years ago as a felted bit that I really had no plans for.  I was just playing with my embellisher and some rovings one day.  Then, probably a year after that I needed a bit of felt for a 'mystery' hand stitching activity that we were going to be doing at a meeting while I still belonged to the Oakville Stitchery Guild.  It turns out that we were making arm cuffs, but mine never actually made it to the cuff stage.  Instead I finished it off as just a little piece of fibre art.  I had plans to mount it to a quilted background or some such thing, but it just never happened.

Finally, in my GOE group, it was Tracey's turn to present us with our next quarterly challenge.  Her idea was to have us finish a UFO (unfinished object for those of you that might not know the acronym) without spending any more money on it.

Well, which UFO to work on...I have plenty to choose from...

I decided that I'd try to finish up all of the UFOs I have in various stages of completeness (or incompleteness for you pessimists out there!).  This piece is the first one I've managed to finish up...and, I've also started three new fibre art pieces (not to mention journalling and photography 'stuff' LOL).  Can you say "attention deficit"?

So back to this piece...I started by painting some plain copy paper with various layers of acrylic paint.

 I then painted an 8" X 10" canvas, tore the painted paper to get a rough, uneven edge, and used matte medium to adhere the paper to the painted canvas.  This took a bit of time because of drying time (thus the new projects that I was able to start LOL).  That got some more paint added to it using an old gift card and more wait time...
I then used a scrap of tissue paper and wrote, "When you stop and look around, life is pretty amazing."  A little bit of positive self-talk to keep me focussed on how lucky I really am!  And really, I am!

The tissue paper was adhered using more matte medium and when dry, I used a Pitt pen to trace over the lettering and fill it out.


After letting that dry overnight, I used a white Sakura Jelly Roll pen to add some highlights to the lettering.  This is something I just figured out this week.  I'd often have trouble with the white pen giving me a really nice, consistent line, even though a gave the black a few minutes to dry before trying to write over top of it.  Since waiting overnight, it works like a charm for me!  Who knew!


The final step was to adhere the needle felted piece to the canvas, you guessed it, with more matte medium.