Showing posts with label Terri Stegmiller. Show all posts

Thursday, January 22, 2015

DLP Week 3: My Favourite So Far!


The Documented Life Project challenge for this week is to use the colour wheel and a particular quote of Georgia O'Keeffe.

I decided to use some acrylic ink since I only had the three primary colours and I wanted to restrict myself to those and let them mix to create other colours. I liberally painted them onto the spread with a brush.


Then I covered the page with plastic kitchen wrap and allowed it to dry for a while.

Ironically, while I was waiting for it to dry I decided to watch the the most recent episode of DMTV with Laura and Linda Kemshall. Linda was working on a journal page and I couldn't believe it, but she was using this kitchen wrap technique! Great minds!!! Having said that, she was doing some really incredible work with leaves from her garden...something I'll certainly play with at some point!
Anyway, back to my piece. Once the plastic wrap is removed you're left with a really wonderful random texture of wrinkle lines!

I added additional layers using various sizes of bubble wrap and white gesso. I seem to go back to this a lot...it's so easy and gives you those wonderful circles...definitely one of my 'go to' techniques for adding layers and texture.
I pulled out some of my Gelli print papers and made the flowers. The stems were drawn in using my white Signo pen and a permanent black pen.

Using a Terri Stegmiller stencil I added the grid lines for the quote. To soften the lines, I doodled little circles using the white pen, rather than drawing solid lines.
The text was added with a black pen, following the shapes of the grid lines and then highlighted with the white pen.

And here's the finished page:


Friday, November 22, 2013

I'm Grateful to be Participating in a Blog Hop Featuring Terri Stegmiller's StencilGirl Designs

It's time for another great StencilGirl Blog Hop, this time featuring Terri Stegmiller's designs and you guessed it, the theme is Grateful!

These days I'm grateful to have the honour of raising a future dog guide foster puppy.  He's been keeping me busy these days, so I wanted to create a journal page that I could doodle on, a little at a time, when I got the chance.

I used two of Terri's stencil designs: Waves and  Layered Salad.


Working in my 9" X 12" Strathmore Mixed Media Visual Journal, I started by tracing the Waves stencil using pencil. I often jump right in with pen, but this time I thought I'd lay everything out in pencil first, and then when I find time I'll do the pen work while listening to TV.

I added the quote by writing it between those wonderful lines created by the stencil.


 With the text in place, I reached for the Layered Salad stencil and filled in the empty spaces around the edges with whimsical flowers made using the various design elements in this stencil.


The next step was to use a permanent black pen (I like Microns and/or Pitt pens) to embellish the letters as I traced them in black, adding extra thickness and some tiny lines to fill in the fatter sections.


The rest of the pencil lines were also traced with the black pen.


And I'm ready for some paint.  I decided to use acrylic for this page.  I use a very fine brush and water down the paint so that it flows almost like watercolour paint.


After adding colour to all of the elements, mostly using some shimmery metallic paints, I pulled out a silver Pitt pen and added some shadows.


Don't you just love that wonderful quote by Marcel Proust?!


There's a giveaway on the StencilGirl Talk Blog and 
all comments left on the ENTIRE hop 
are eligible to be picked as the winning comment. 

Giveaway will close on Sunday, November 24th at 11:59PM Central Time.

Blog Hop Order
Linda Kittmer-you're here...thanks for coming!

Thursday, November 14, 2013

An Extra Post This Week...

Hi Everyone, I'm popping in with an extra post today to let you know I'm posting over on StencilGirl Talk blog today to share a quick little tutorial on how this "Stepping Stone" art quilt began.

I was inspired by a beautiful skein of thread and that led me to audition a bunch of my hand dyed fabrics and some batiks I had in my stash.  The tutorial shows how I used a bit of surface design using three incredible stencils designed by Terri Stegmiller. Please pop on over to the StencilGirl Talk blog to check it out!

This quilt is actually made up of five smaller quilts which were then aligned and stitched together with some areas overlapping.  After finishing the hand stitching that I've shared in posts here and here, I took the five pieces to the my studio for some machine stitching.


And here is the finished piece.  Unfortunately, the stitched design in the circles does not show up well in the photo.  It looks much better in person (In my humble opinion!).


Friday, October 11, 2013

A Bit of Inspiration...


I've really been struggling to get down to some fibre art work lately.  I have lots of ideas, but I just can't seem to get started on them...procrastination and lack of drive just have me spinning my wheels and wasting time. But, a couple of days ago my friend Heather gave me this skein of thread and it seems to have been just what I needed.

I've been in the studio pulling out hand dyed fabrics and other threads and there seems to be a bit of a spark...


Pull out a stencil (that's one of Terri Stegmiller's Stepping Stone stencils)...add a bit of paint and fabric medium...

                             Let the fun begin!

 
Hopefully I'll have something interesting to show you soon! 


Sunday, August 4, 2013

An ATC Develops...

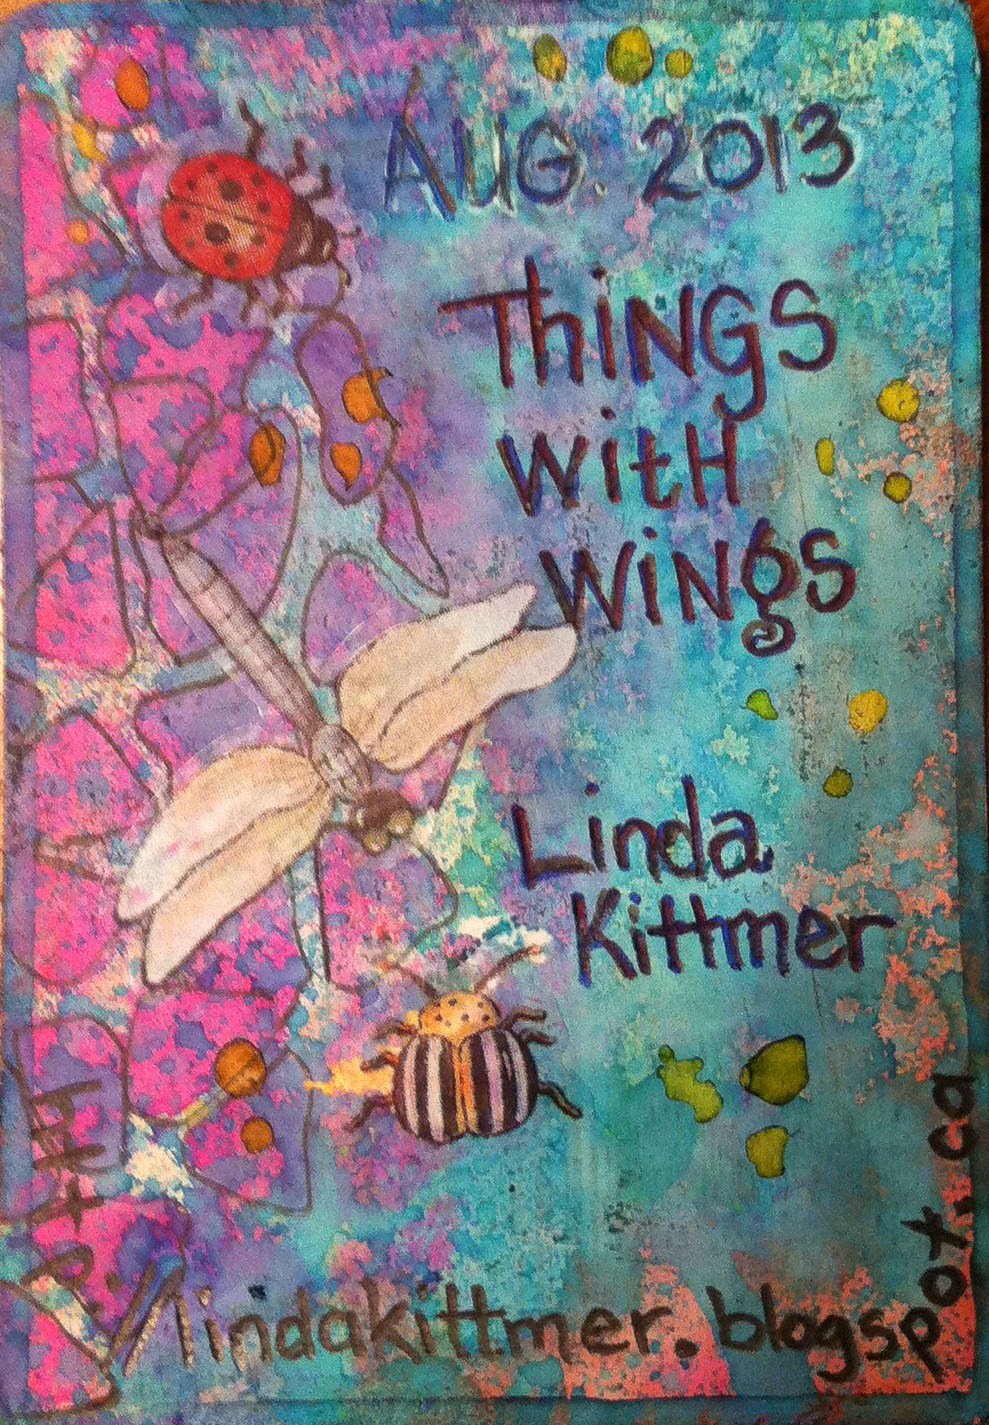
I'm participating in an ATC swap via Facebook, and yesterday I got the art supplies out for a bit of play time.  The August theme is 'Things With Wings".

I started with a scrap bit of cardboard which I roughed up a bit with sandpaper and then applied a thin coat of gesso to both sides.  The text that shows through just gives a bit of extra texture.
 Next I used spray inks and distress stain to add colour.  I used a couple of my StencilGirl stencils too.
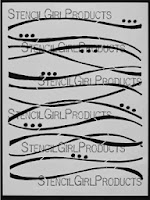
This is Terri Stegmiller's 'Blades' stencil.  I flip the stencil over onto a page of text to use up the excess ink.


I added various elements by tearing pieces of previously embellished papers I had lying around. I tore a branch from the text page used to 'clean' my stencils and then I cut out and coloured a bird that was lightly stamped on scrap paper one da when I was cleaning that stamp.  I spritzed it with the blue spray ink, but if you srr it in person, you can see the black ink from the original ink show through.


 Using the tube in the spray ink bottle, I 'draw' a thin border around the edge on both front and back.

I then added some finishing touches with black and white pens, some letters cut out of the newspaper, and a few stickers and it was done.
And here's the finished ATC...
front
back

Tuesday, January 24, 2012

Valentine Hearts

Valentine Art Quilts  8" x 10"
 Thanks to a recent post by Terri Stegmiller I was inspired to make some little Valentine art quilts.  Terri does have a tutorial if you're interested, but I chose not to use it.  I just don't seem to be able to follow patterns - instead, I tend to look at the picture and then just do my own thing. I probably should have read Terri's tutorial because I think I like her's better, but it was fun playing around in the studio for the afternoon, so what the heck.  

My friend Diane sent me a lovely birthday card and there was a wonderful bonus in that the envelop was made with this wonderful 'love' paper (plain on the outside, but the 'love' text was on the inside).  I took the envelop apart, tore some of it into small bits and added it to the neutral fabric I used for the background.  Thanks Diane :0)

Close up of 'love' paper